It is sometimes difficult to specify the object that we want by Shift-clicking and Option-clicking in the SectionView window, because unwanted objects around it may be of similar colors and get selected at the same time. This is especially true when dealing with grayscale images like those from MRI and TEM tomogram. To solve the problem, you can either change the color of the object you want, or alternatively change the color of the unwanted objects around it. Colorizer is designed exactly for the task. Reading dozens of files into Photoshop one by one and spending days tracing the object are things of the past.
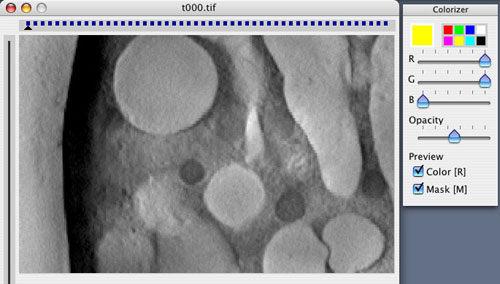
Color Image menu from SectionView activates Colorizer, and you will see Colorizer window like this.
To choose the object , you
You need to do this to a few of the images in the stack manually, but Colorizer deals with the rest automatically for you by interpolating the color selection and the mask you set.
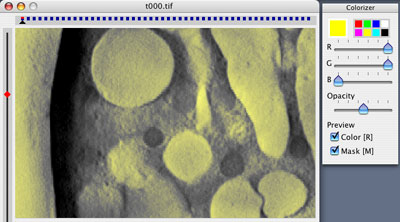
Once the desired object is chosen, you apply color to it using the color palette on the right. The colorization is finalized when you choose Apply Change and Close menu.
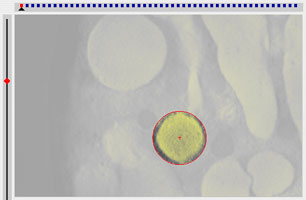
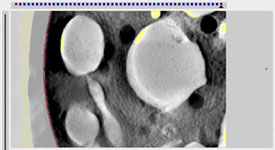
At the top of the window is the scroll bar. Small blue rectangles in it represent images in the stack, and the triangular marker indicates which of the images you are currently looking at.
Clicking anywhere in the scroll bar moves you instantly to the corresponding location. You can drag cursor in the scroll bar to navigate through the stack. You can also use the left-arrow and the right-arrow keys to navigate through the stack. Command-left-arrow moves you to the first image and Command-right-arrow moves you to the last image.
You select color (density) in two steps.
First you select target color. To choose bright object, select white by clicking on the white square at the lower left corner of the window. If you want to choose dark object, select black instead. You may want to choose colored object or object having medium density. In such cases, click on the object directly while pressing down Control key.
 |
 |
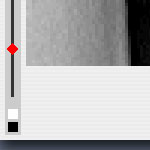
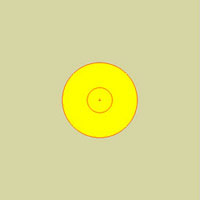
After selecting the target color, you adjust tolerance (threshold) by the tolerance bar at the left of the window. As you move the diamond shaped knob upward, you notice that the part of the image whose color is within specified tolerance from the target color becomes painted by the designated color. The tolerance may also be adjusted using the up-arrow and down-arrow keys.
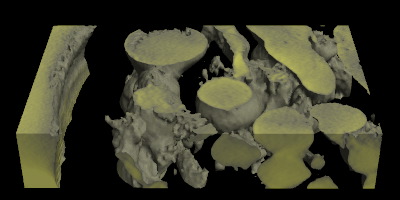
If you just apply color and reconstruct from the images, you will get this. We do not want the embedding chemicals at the left included in the reconstruction, and we can avoid it by setting a mask.
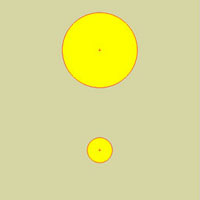
You create a circular mask by Shift-dragging on the image. You can adjust the location or the size of the mask anytime by dragging the center or the circle itself. While working with masks, you may want to toggle between Preview Mask on and off.
 |
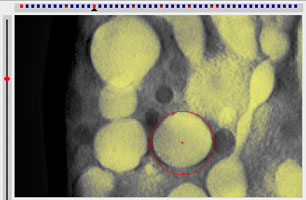 |
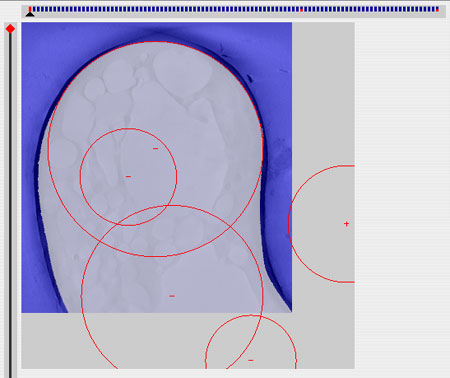
The created mask may be considered to extend from the first image to the last image in the image stack. You can navigate through the stack and adjust the mask here and there to match the shape of the object. As you touch the blue circle, you notice it turns to red, indicating that the center and the radius of the circle are fixed at that image. The blue rectangle in the scroll bar also changes to red, indicating that the image contains fixed circles. Clicking on a red circle cancels the adjustment made and the circle turns back to blue. The center and the radius of blue circles are automatically ajdusted from those of nearby red ones by interpolation.
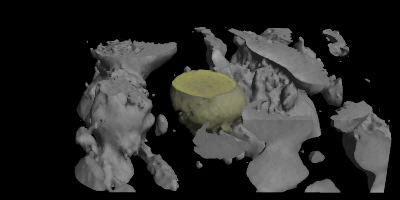
One of the most useful applications of masks is erasing unwanted region of the image stack by painting it out with the background color. Follow these steps to do it.
 |
 |
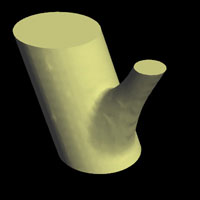
You can create masks having complicated shapes by adding more circles using Shift-drag. Nearby circles interact with each other and define varieties of shapes. This is an application of technique called metaball (blobs). We use a special metaball function so that when two circles of the same radius are tangent to each other, the sides become straight lines.
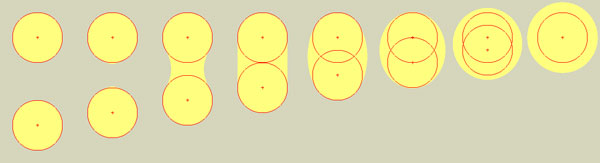
Using just two circles, you can create a mask having a natural branching like this.
 |
 |
 |
You can also define "negative" circles by Option-dragging. Combining positive and negative circles, you can usually cover any region having an irregular shape with a relatively small number of circles.